GitHub Copilot CLI is a powerful, terminal-native AI coding assistant that brings advanced agentic capabilities directly to your command line. Designed to eliminate the friction of context-switching between tools, the Copilot CLI allows you to write code, run tests, fix errors, and execute complex workflows without ever leaving your terminal. By acting as a sophisticated orchestrator, Copilot CLI can operate interactively or autonomously to perform multi-step tasks on your behalf.
Drawing on information from the sources, here is a comprehensive guide on how to install the CLI and master its core terminal commands.
Installation Commands and Prerequisites
GitHub Copilot CLI supports multiple operating systems, including Linux, macOS, and Windows (via PowerShell and Windows Subsystem for Linux). According to the sources, you can install the CLI using the following package managers depending on your environment:
- Cross-platform (npm): You can install the CLI via npm, provided you have the prerequisite of Node.js version 22 or later installed.
- Windows: Can be installed using the WinGet package manager.
- macOS and Linux: Can be installed using Homebrew.
(Note: The sources specify the supported package managers, but do not provide the exact bash script strings or installation commands for them. You may need to refer to standard syntax for npm, winget, or brew to complete the installation).
Core Terminal Commands
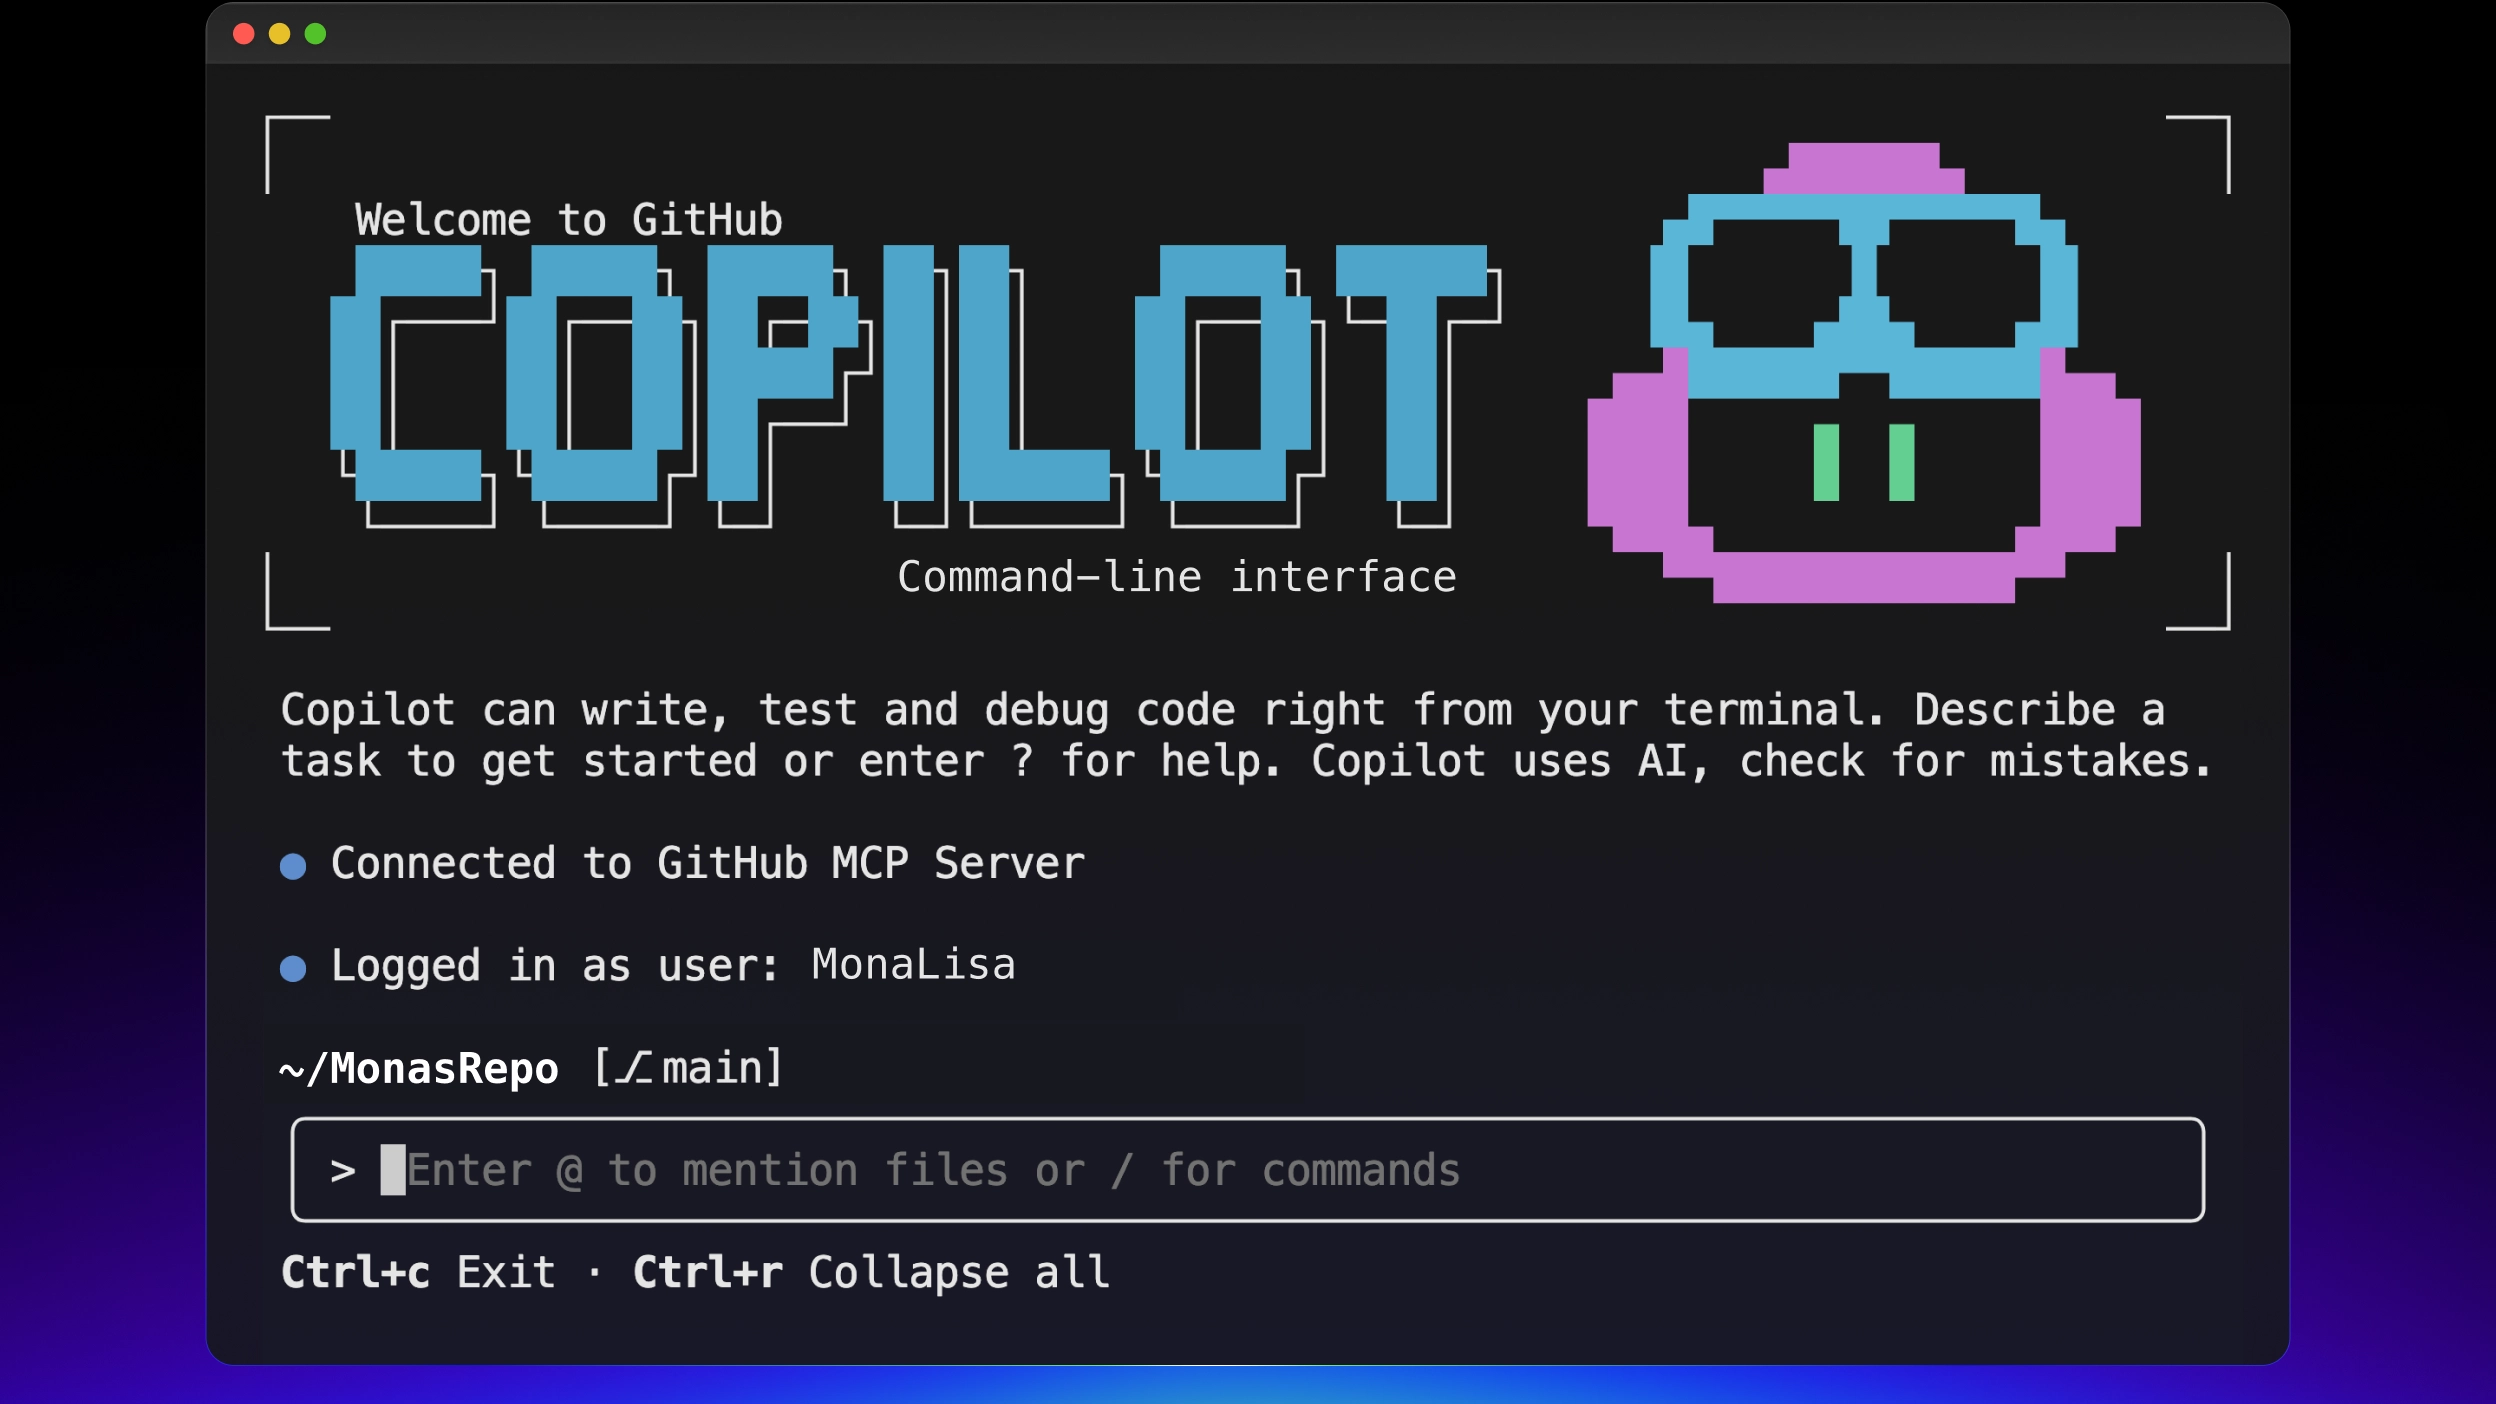
Once installed, you interface with the tool using the top-level copilot shell command. Below is an explanation of the primary command-line commands available to launch, authenticate, and configure your CLI environment:
copilot: This is the primary command used to launch a full interactive session. Once inside the interactive UI, you can chat with the AI, inject file contents into the context, use slash commands (like/planor/diff), and build implementation plans.copilot login: Use this command to authenticate with your GitHub account via the OAuth device flow. If you are working in an enterprise environment, you can append the--host HOSTflag to specify your customized GitHub Enterprise URL.copilot logout: Signs you out of GitHub and securely removes your stored credentials.copilot init: This command is used to bootstrap and initialize Copilot custom instructions for your current repository, generating configuration files likeAGENTS.md.copilot update: Automatically downloads and installs the latest version of the Copilot CLI.copilot version: Displays your currently installed version and checks to see if any available updates exist.copilot plugin: Allows you to manage Copilot plugins and plugin marketplaces. Plugins are installable packages that deliver preconfigured customizations, such as custom agents, hooks, and MCP servers.copilot help [topic]: Displays detailed help information. You can specify topics such asconfig,commands,environment,logging, andpermissionsto get targeted assistance directly in the shell.
Non-Interactive (Programmatic) Terminal Usage
While the interactive interface is highly capable, the CLI is also built for automation and scripting. You can bypass the interactive UI and pass a single prompt directly on the command line using the -p or --prompt flags.
For example, running copilot -p "List my open PRs" will prompt Copilot to fetch the information, output the result to your terminal, and immediately exit. To clean up the output for scripting, you can append the -s or --silent flag to suppress usage statistics and output only the agent’s response.
Managing Permissions in the Terminal: By default, Copilot will ask for your manual permission before modifying files or running shell commands to ensure strict security. However, when running the CLI programmatically, you can pass explicit permission flags:
--allow-all-tools: Grants Copilot automatic execution permissions for any tool without requiring manual approval, which is essential for headless workflows.--allow-allor--yolo: An even broader flag that enables all permissions across tools, file paths, and URLs.--allow-tool=TOOL/--deny-tool=TOOL: Allows for fine-grained whitelisting or blacklisting of specific terminal commands (e.g.,--deny-tool='shell(rm)'prevents Copilot from using any deletion command).
(Note: Because automatic approval flags give Copilot the same operational access as your user account, the sources strongly recommend running such commands in secure, restricted environments like containers or virtual machines to prevent unintended actions.)
Getting Started Workflow
To properly kick off your CLI experience, open your terminal, navigate to your desired project directory, and run copilot login to authenticate. Once authenticated, simply enter copilot to start your interactive session, followed by confirming that you trust the directory’s contents. From there, Copilot is fully initialized to assist you with your day-to-day coding tasks!