I’ve been using GitHub Copilot in VS Code for a while, but the CLI version is where things get interesting for terminal-heavy workflows. Instead of context-switching between your editor and terminal, Copilot CLI lets you write code, run tests, fix errors, and execute multi-step tasks — all without leaving your shell.
It’s an agentic tool, meaning it doesn’t just answer questions — it takes actions on your behalf, chaining together file edits, shell commands, and git operations into coherent workflows.
Installation
Copilot CLI supports Linux, macOS, and Windows (PowerShell and WSL). Install it via your preferred package manager:
- Cross-platform (npm): Requires Node.js 22+
- Windows: Available through WinGet
- macOS/Linux: Available through Homebrew
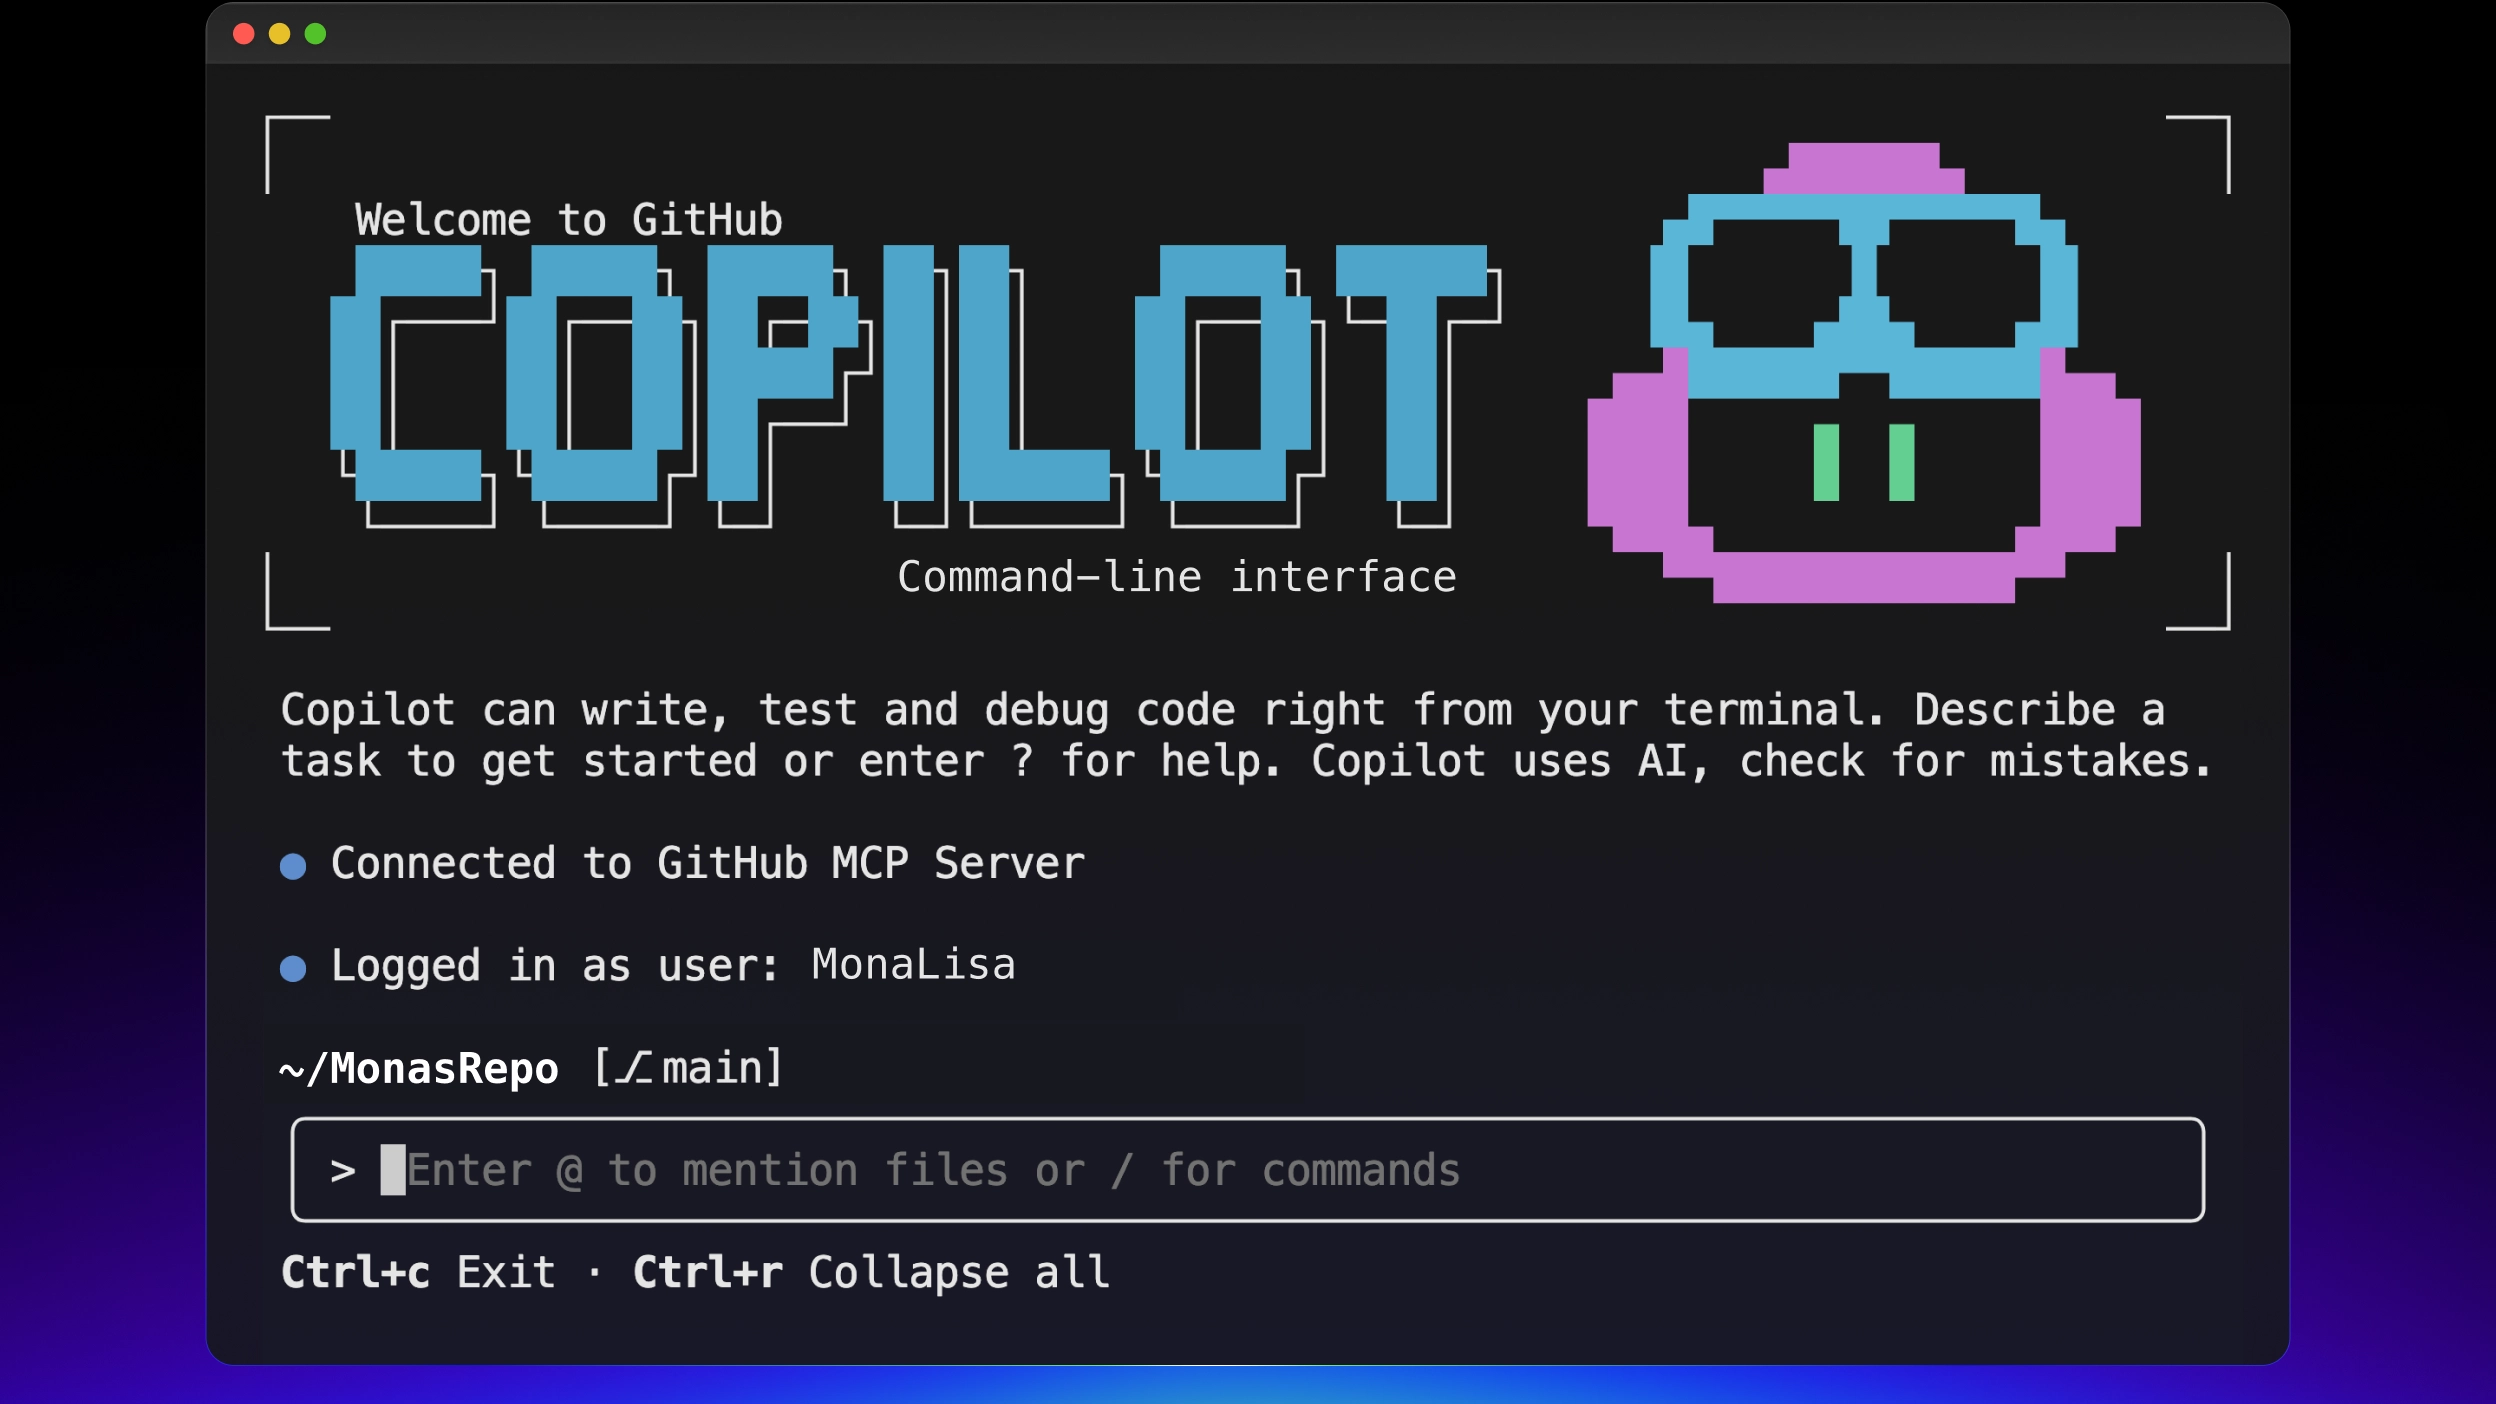
Once installed, you interact with it using the copilot command.
Core Commands
Here’s what you’ll use day-to-day:
copilot— launches an interactive session where you can chat with the AI, inject file context, and use slash commands like/planor/diffcopilot login— authenticates via GitHub OAuth (append--host HOSTfor GitHub Enterprise)copilot logout— signs out and removes stored credentialscopilot init— bootstraps custom instructions for your repo, generating anAGENTS.mdconfiguration filecopilot update— downloads and installs the latest versioncopilot version— shows current version and checks for updatescopilot plugin— manages plugins (preconfigured packages with custom agents, hooks, and MCP servers)copilot help [topic]— detailed help onconfig,commands,environment,logging, orpermissions
Non-Interactive (Scripting) Mode
The interactive UI is great for exploratory work, but the CLI really shines in automation. Pass a single prompt directly:
| |
This runs the prompt, outputs the result, and exits immediately. Add -s or --silent to suppress usage stats and get clean output — perfect for piping into other commands or CI scripts.
Managing Permissions
By default, Copilot asks for approval before modifying files or running shell commands. For automated workflows, you can loosen this:
--allow-all-tools— auto-approve any tool execution (essential for headless pipelines)--allow-all/--yolo— broadest permission flag across tools, file paths, and URLs--allow-tool=TOOL/--deny-tool=TOOL— fine-grained control (e.g.,--deny-tool='shell(rm)'prevents deletion commands)
A word of caution: these flags give Copilot the same access as your user account. I only use --allow-all-tools inside containers or VMs — never on my main machine with unrestricted access.
Getting Started
The workflow is straightforward:
- Open your terminal and navigate to your project
- Run
copilot loginto authenticate - Run
copilotto start an interactive session - Confirm you trust the directory contents
From there, Copilot is ready to assist with your daily coding tasks — from generating boilerplate to running complex multi-step operations across your codebase.
If you’re already comfortable in the terminal, Copilot CLI fits naturally into your workflow. It’s especially powerful when combined with git workflows and CI pipelines where the interactive UI would be impractical.